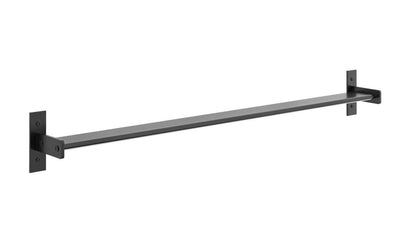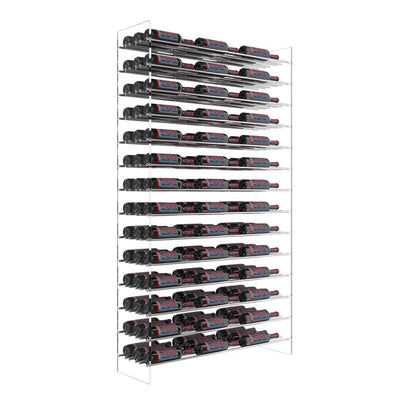
How to Install a Wall Wine Rack: Tips for a Secure Setup
Below is a comprehensive guide on installing a wall wine rack that combines practical tips with a focus on safety and secure mounting. Whether you’re a DIY enthusiast or simply looking to add a stylish storage solution to your home, this guide will walk you through each step of the process.
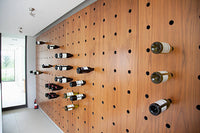
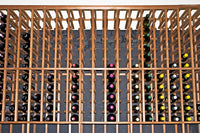
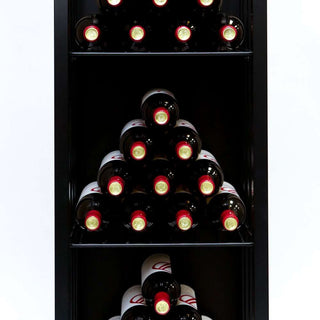
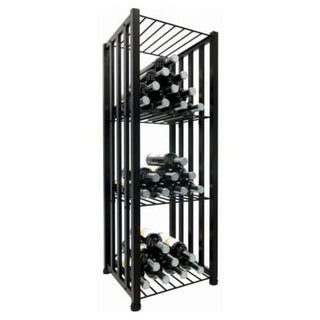
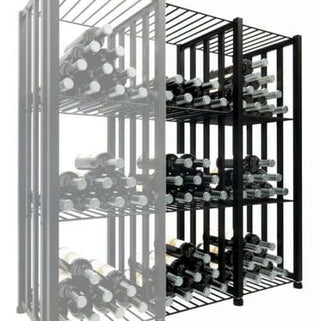
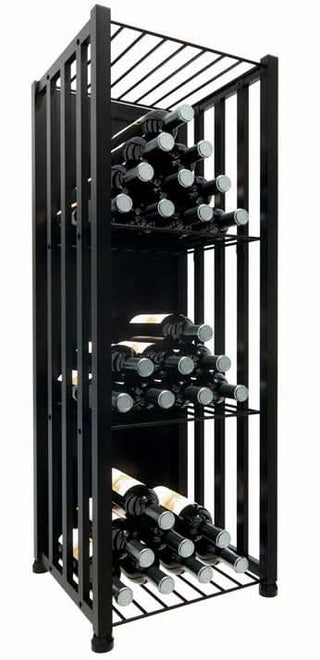
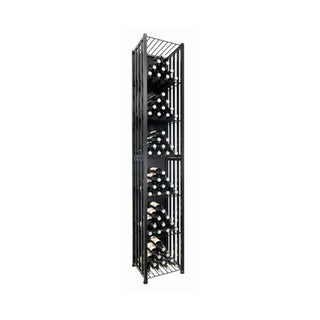
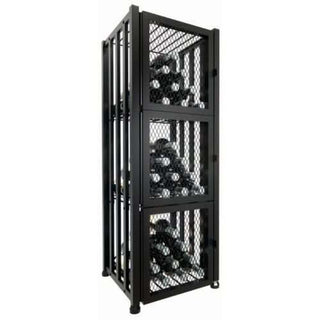
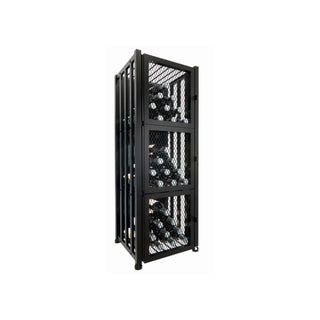
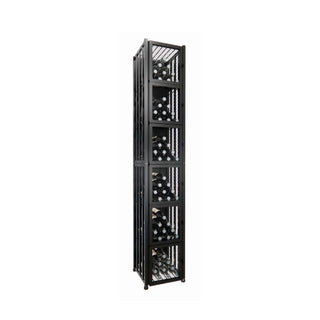
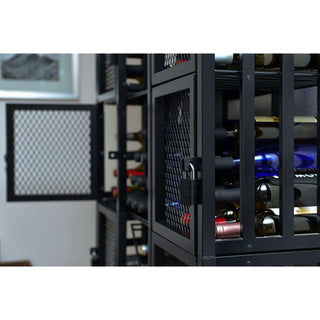
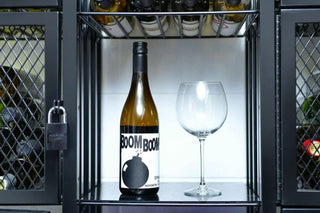
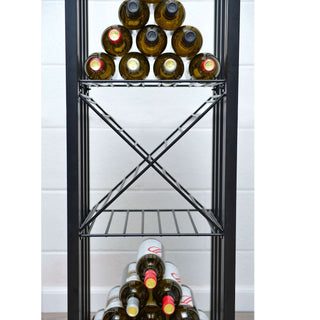
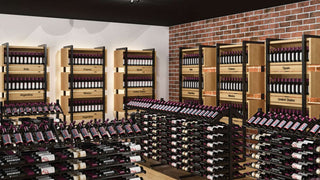
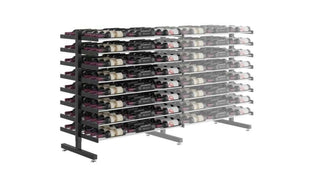
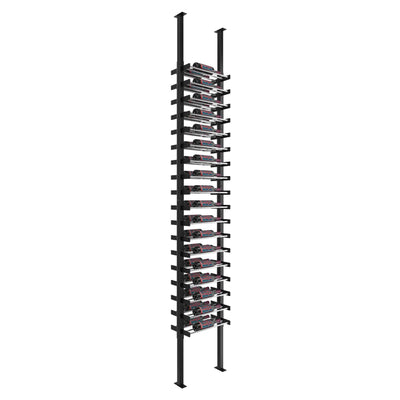
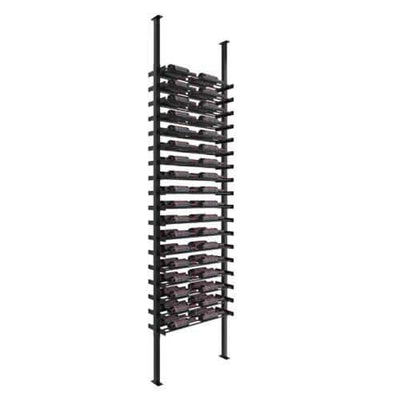
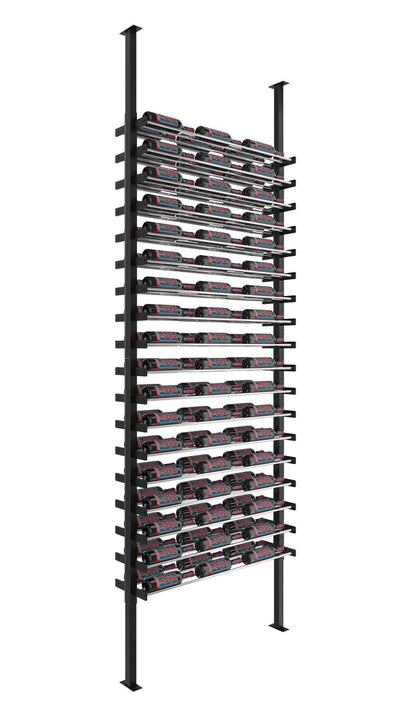
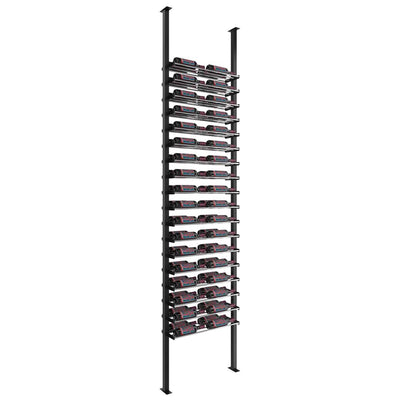
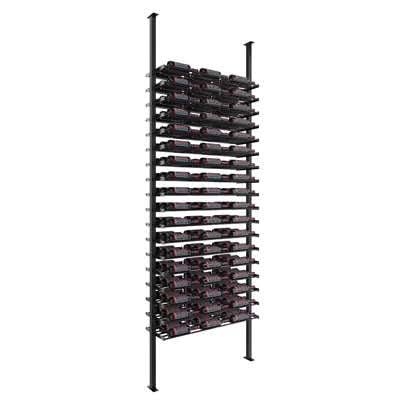
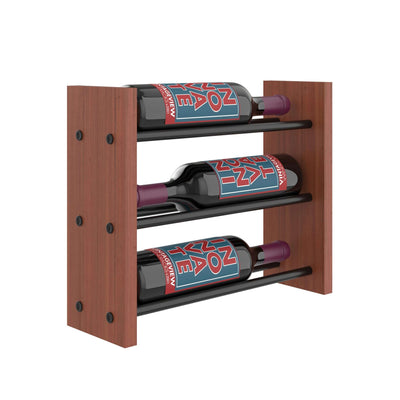
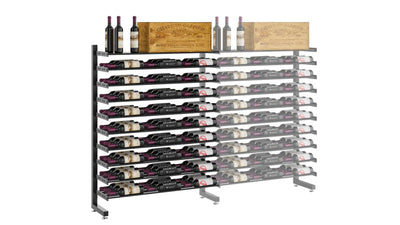
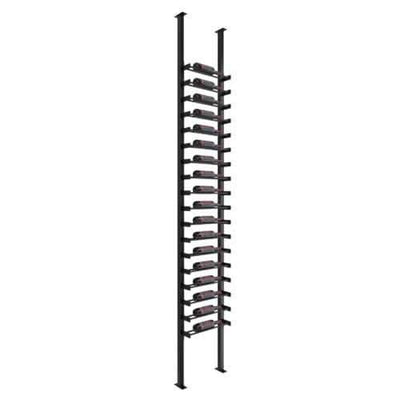
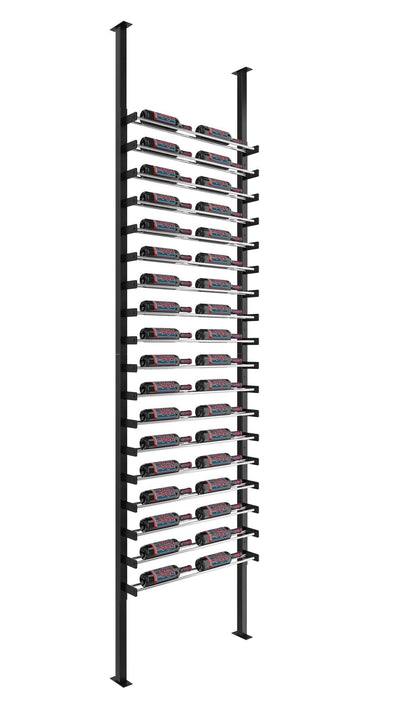
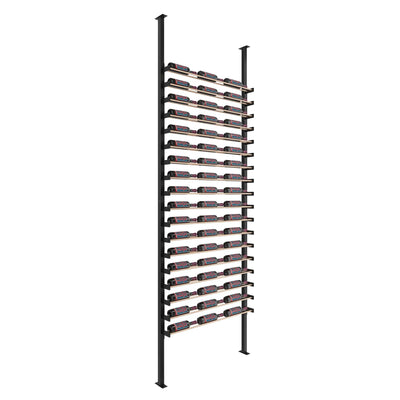
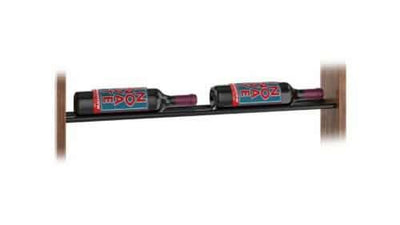
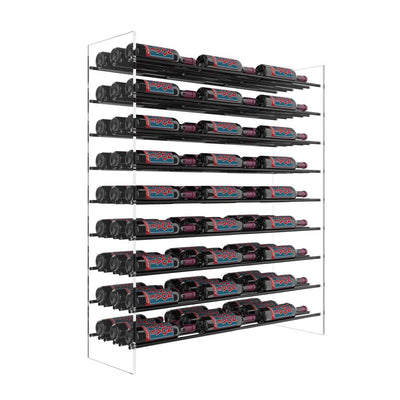
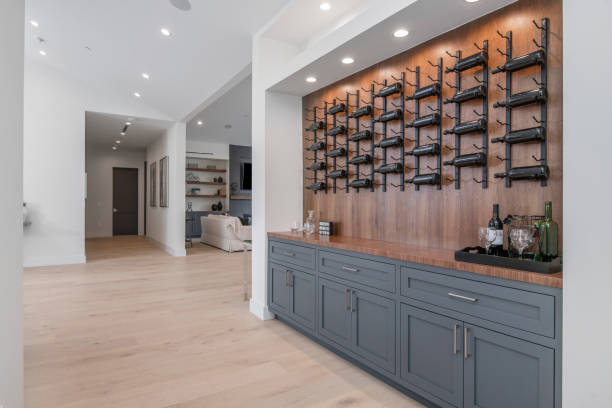
Installing a wall wine rack is not only a great way to display your favorite wines, but it also saves space and adds an element of modern design to your home. At Wine Coolers America, we understand the importance of a secure installation that can safely hold your collection. In this blog, we’ll share expert tips on selecting the right tools, preparing your wall, and ensuring that your wall wine rack is securely mounted.
Table of Contents
- Tools and Materials Needed
- Planning Your Installation
- Step-by-Step Installation Guide
- Safety and Weight Distribution Tips
- Conclusion
Tools and Materials Needed
Before beginning, gather the following tools and materials:
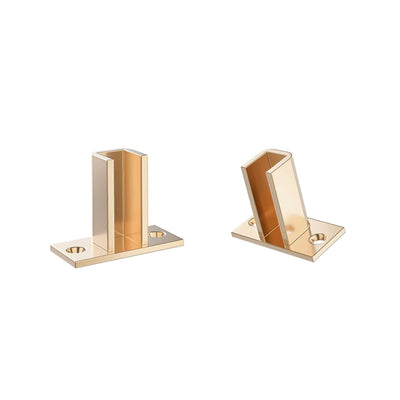
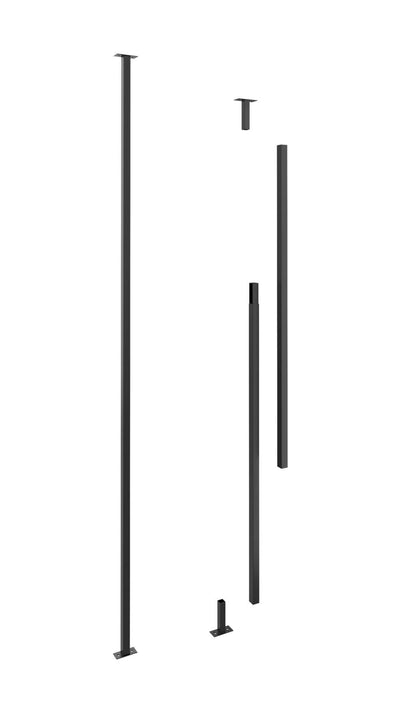
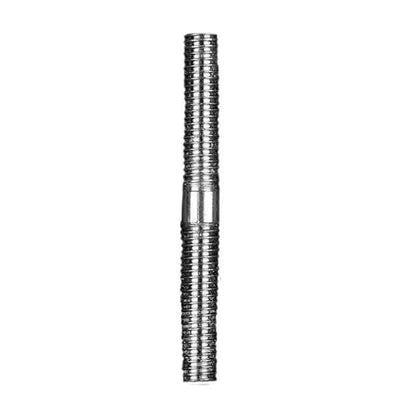
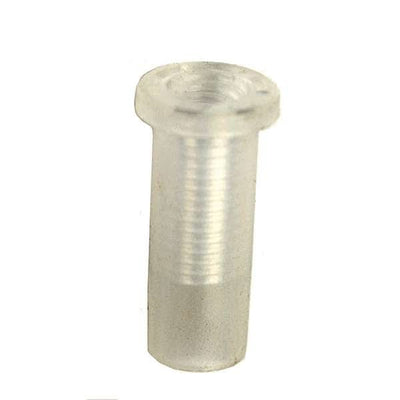
- Wall wine rack kit
- Stud finder
- Drill and appropriate drill bits
- Level
- Screwdriver
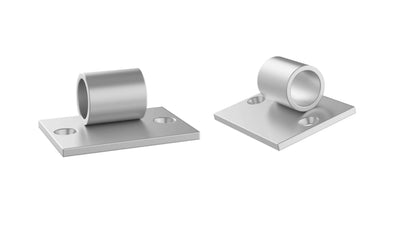
- Anchors and screws (suitable for your wall type)
- Measuring tape
- Pencil
Having the correct tools on hand will streamline the process and help prevent errors during installation.
Planning Your Installation
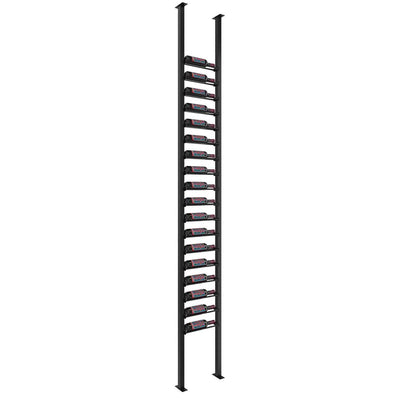
Proper planning is crucial for a secure installation. First, choose a location where the wall wine rack will not only be aesthetically pleasing but also safe and practical. Use a stud finder to locate wall studs since mounting your rack on a stud will ensure maximum weight distribution and stability. Mark the wall lightly with a pencil where the screws will be inserted, and double-check the alignment using a level.
Step-by-Step Installation Guide
- Mark the Studs: Once you’ve located the studs, mark their centers. This will be the primary point for anchoring your wall wine rack.
- Drill Pilot Holes: Using a drill, create pilot holes at your marked points. Pilot holes prevent the wood or wall material from splitting when the screws are inserted.
- Install Anchors (if needed): If a stud is unavailable at your chosen location, install wall anchors suitable for the weight your wall wine rack will support.
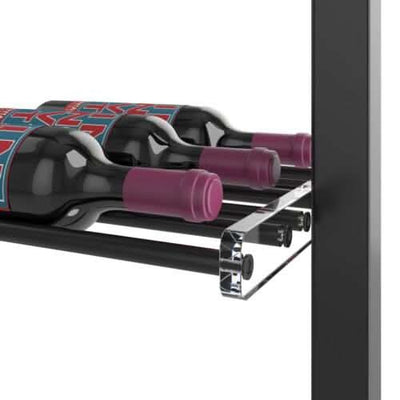
- Mount the Rack: Align the rack with your pilot holes and secure it using screws. Use a level during this step to ensure the rack is straight.
- Test the Installation: Gently apply pressure to the mounted rack to verify its stability. It should remain secure without any noticeable movement.
Safety and Weight Distribution Tips
- Double-Check Weight Limits: Ensure that the rack’s design and the anchors you use can support the weight of your wine bottles.
- Distribute Weight Evenly: Organize your wine bottles so that no single section bears excessive weight.
- Regular Inspections: Periodically check the screws and anchors to ensure they remain secure over time.
Conclusion
Installing a wall wine rack can be a rewarding DIY project when done correctly. By carefully planning, using the proper tools, and following our detailed installation guide, you can enjoy a secure and attractive display for your wine collection.
If you’re excited to transform your home with a new wall wine rack, visit Wine Coolers America today for the best selection of high-quality wine storage solutions. Our expert team is here to help with any questions you may have. Visit us now and start your project with confidence!
By following this guide, you’re on your way to creating a stylish and safe wine display that will impress guests and keep your collection organized for years to come. Enjoy your DIY journey and happy mounting!