How to Build a DIY Wine Rack: Step-by-Step Guide for Beginners
Learn how to build a DIY wine rack with our step-by-step guide for beginners. Discover materials, tools, and tips to create a stylish and functional wine rack that suits your space and taste.
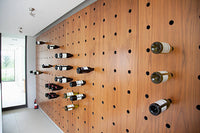
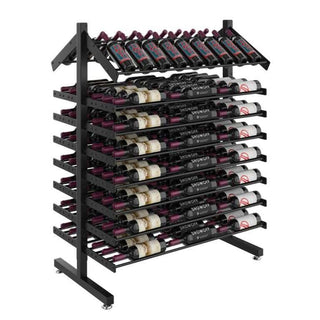
A wine rack is a functional and stylish way to store your wine collection at home. For DIY enthusiasts, building your own wine rack is a fun and rewarding project that combines creativity and practicality. In this guide, we’ll walk you through the materials you’ll need and the steps to create a beautiful wine rack that suits your space and style.
Table of Contents
Why Build Your Own Wine Rack?
Creating your own wine rack allows you to customize the design to fit your space and taste. It’s also an affordable alternative to buying a pre-made rack. Plus, building a wine rack is a great beginner-friendly project for those new to DIY woodworking.
Materials and Tools You’ll Need
Before starting, gather the following materials and tools:
Materials:
-
Wooden boards (pine or oak work well)
-
Wood screws or nails
-
Wood glue
-
Sandpaper
-
Wood stain or paint (optional)
Tools:
-
Saw (hand saw or electric)
-
Measuring tape
-
Drill with bits
-
Screwdriver
-
Clamps

Step-by-Step Guide to Building a Wine Rack
Step 1: Plan Your Design
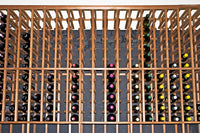
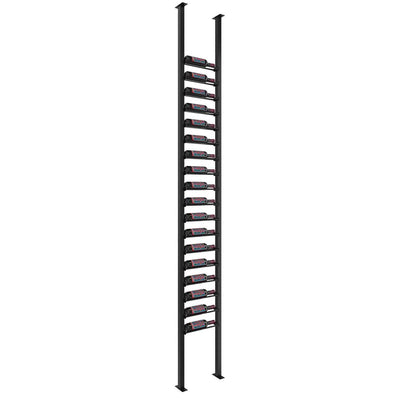
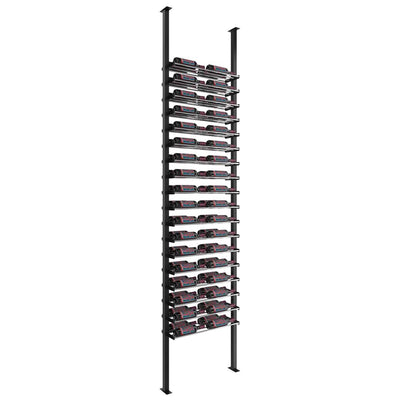
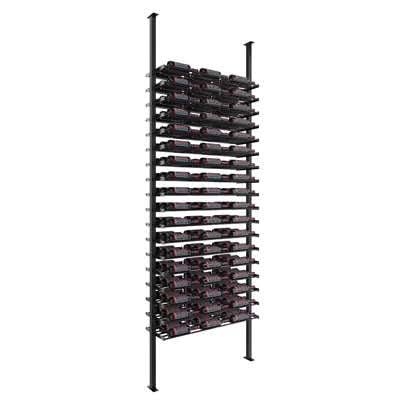
Decide on the size and style of your wine rack. Consider how many bottles you want to store and whether the rack will sit on a countertop, hang on a wall, or stand on the floor. Draw a simple blueprint with dimensions.
Step 2: Cut the Wood
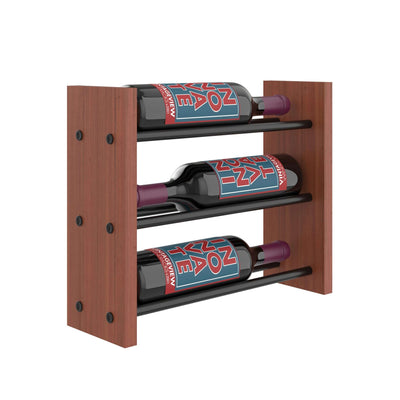
Measure and cut the wooden boards according to your blueprint. For a simple rack, you’ll need:
-
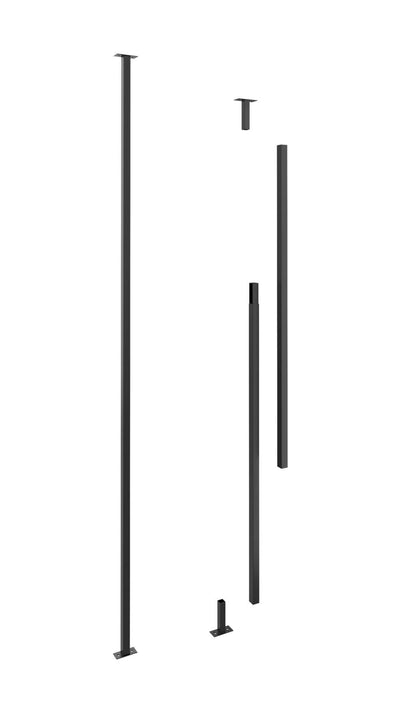
Two side panels
-
Several horizontal shelves
-
Divider pieces to hold the bottles securely
Step 3: Sand and Prep the Wood
Smooth all edges and surfaces with sandpaper to avoid splinters. Wipe the wood clean to remove any dust.
Step 4: Assemble the Frame
Using wood glue and screws, attach the side panels to the horizontal shelves. Ensure everything is level and secure by clamping the pieces together as the glue dries.
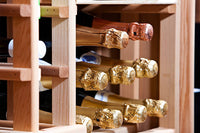
Step 5: Add Dividers
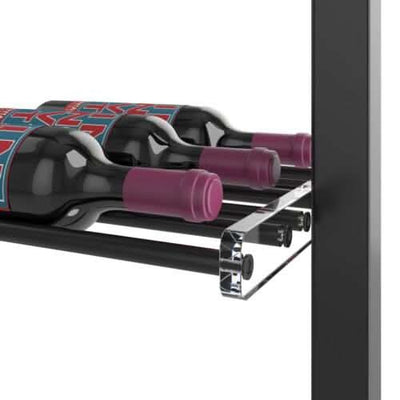
Install the dividers evenly across the shelves to create individual compartments for your wine bottles. Use screws and wood glue to secure the dividers in place.
Step 6: Finish Your Wine Rack
Apply wood stain or paint to give your wine rack a polished look. Let it dry before using it.
Tips for Customizing Your Wine Rack
-
Size: Adjust the dimensions to accommodate larger or smaller bottles.
-
Style: Use different stains or paints to match your home decor.
-
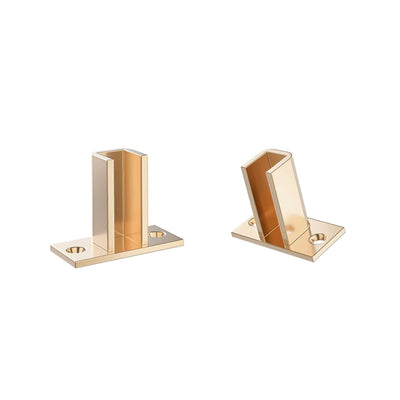
Features: Add decorative touches like carved patterns or metal accents for a unique look.
Conclusion
Building a DIY wine rack is an enjoyable project that enhances your home while showcasing your craftsmanship. With the right materials and this step-by-step guide, you’ll have a stylish and functional wine rack in no time.
For more tips and inspiration, explore our collection of wine storage solutions. Cheers to your next project!